
Getting a clean, bubble-free installation with your pressure-sensitive adhesive (PSA) backed silicone heater isn't just about looks—it's critical for performance. Trapped air creates insulating pockets, leading to localized overheating, reduced efficiency, and potential premature failure. This guide details the proven method to achieve a permanent, reliable bond that ensures full thermal performance from day one.
Why a Bubble-Free Bond Matters
Air is an effective thermal insulator. Any bubbles between the heater's adhesive and the mounting surface act as barriers. This forces the heater element to work harder in isolated spots, which can degrade the component it's meant to protect and compromise the adhesive's long-term hold. A perfect bond maximizes heat transfer and operational life.
Pre-Installation: Setup Is Key
Most installation issues trace back to rushed preparation. Taking time here prevents problems.
Tools You'll Need
Isopropyl alcohol (70% concentration or higher)
Lint-free wipes (cheesecloth or non-woven shop towels are ideal)
A clean plastic squeegee or a firm card (like an old credit card)
A small roller for applying even, firm pressure
Surface Preparation: The Non-Negotiable Step
The mounting surface determines the bond's success. It must be chemically clean, completely dry, and physically smooth.
Deep Clean: Saturate a lint-free wipe with isopropyl alcohol. Vigorously scrub the entire mounting area to remove all oils, dust, and release agents. Use a fresh section of the wipe for each pass until it shows no residue.
Complete Drying: Allow the alcohol to evaporate fully. This typically takes 1-2 minutes in a well-ventilated space. A dry surface is essential for the adhesive to properly wet out.
Surface Smoothing: Inspect for scratches, pits, or heavy texture. On metals, lightly sanding rough edges with fine-grit sandpaper followed by a second alcohol cleaning can improve contact.
Dry Fit Check: Before removing any liner, place the heater onto the prepared surface to verify alignment and fit. Light pencil marks at the corners can serve as guides for the final application.
The Step-by-Step Application Technique
Step 1: Initial Liner Removal and Alignment
Peel back only 1-2 inches of the protective liner from one end. Do not remove it entirely. This controlled exposure allows for precise initial placement and prevents the adhesive from prematurely contacting and contaminating the surface.
Step 2: Establish the First Anchor Point
Align the exposed adhesive section with your placement marks. Using your fingers, firmly press and smooth this initial section onto the surface, working from the center outward to expel air. This creates a secure, fixed hinge point for the rest of the application.
Step 3: The Controlled Peel and Squeegee Method
This technique is core to preventing bubbles. With one hand, slowly and steadily pull the remaining liner back at a shallow angle (10-15 degrees from the surface). Simultaneously, use your other hand to firmly sweep the plastic squeegee across the heater, pressing it down immediately behind the peeling liner edge.
Step 4: Final Sealing Pressure
Once the liner is fully removed, the bond requires consolidation. Use the roller to apply firm, even pressure across the entire heater surface. Start from the center and roll outward in multiple directions. Maintain this pressure for 30-60 seconds to ensure complete adhesive contact and wet-out across the substrate.

Advanced Tips for Complex Applications
For Large Heaters: Use a "center-out" approach. Partially remove the liner from the middle, align and press to create an anchor, then work outward to each side using the peel-and-squeegee method.
For Contoured Surfaces: Gently warming the flexible heater with a hairdryer on a low setting for 20-30 seconds can increase its pliability, helping it conform to complex curves without resisting.
Adhesive Curing: While the bond is immediate for handling, allowing 24-72 hours at room temperature before subjecting the heater to its full operational temperature cycle will maximize the adhesive's ultimate bond strength.
If a Bubble Appears (Contingency Measure)
If a small bubble is detected immediately after installation, it can often be remedied.
Address it before applying power.
Using a fine needle, carefully pierce a tiny hole at the bubble's edge.
Gently massage the air toward the hole with your finger or the squeegee.
Apply firm pressure over the area to re-establish the adhesive bond.
(Note: This is a corrective measure. Proper technique should eliminate the need for this step.)
Common Installation Errors to Avoid
Removing the entire liner first, which leads to misalignment and contamination.
Inadequate surface cleaning, which is the primary cause of adhesive bond failure.
Relying on fingertip pressure alone; a squeegee and roller are necessary to achieve sufficient bonding pressure.
Applying operational heat immediately; letting the adhesive set at room temperature stabilizes the initial bond.
Reliable Performance Through Proper Technique
A correct installation of a PSA adhesive-backed flexible heater is a systematic process that guarantees designed performance. Meticulous surface preparation, the controlled peel-and-squeegee method, and final sealing pressure ensure optimal thermal contact and long-term durability. This level of procedural care reflects the standard embedded in our product design and support.

 русск
русск Español
 Cartridge Heaters Cartridge Heaters
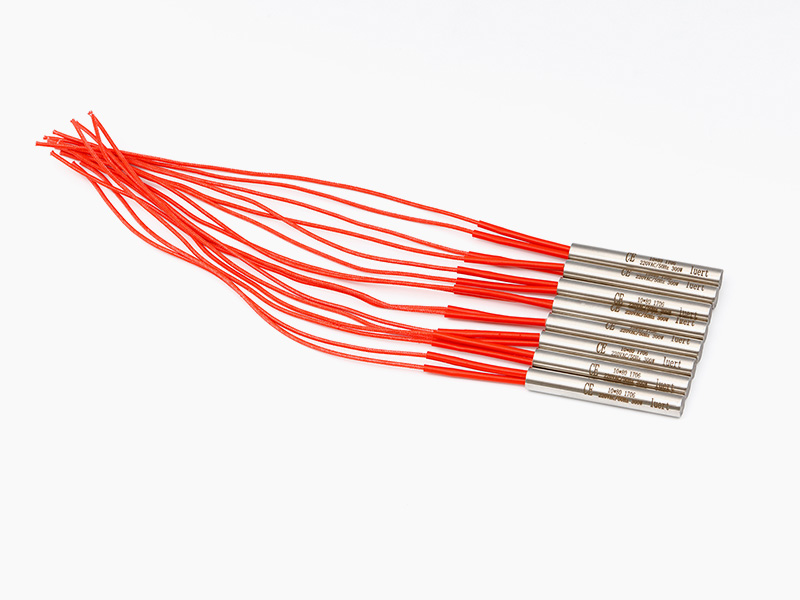 Cartridge Heaters Cartridge Heaters
 Tubular Heaters Tubular Heaters
 Tubular Heaters Tubular Heaters
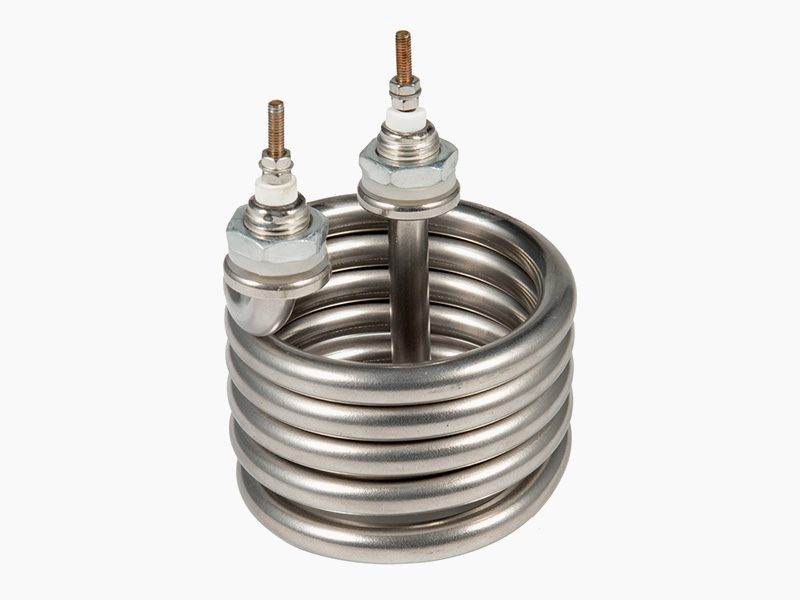 Tubular Heaters Tubular Heaters
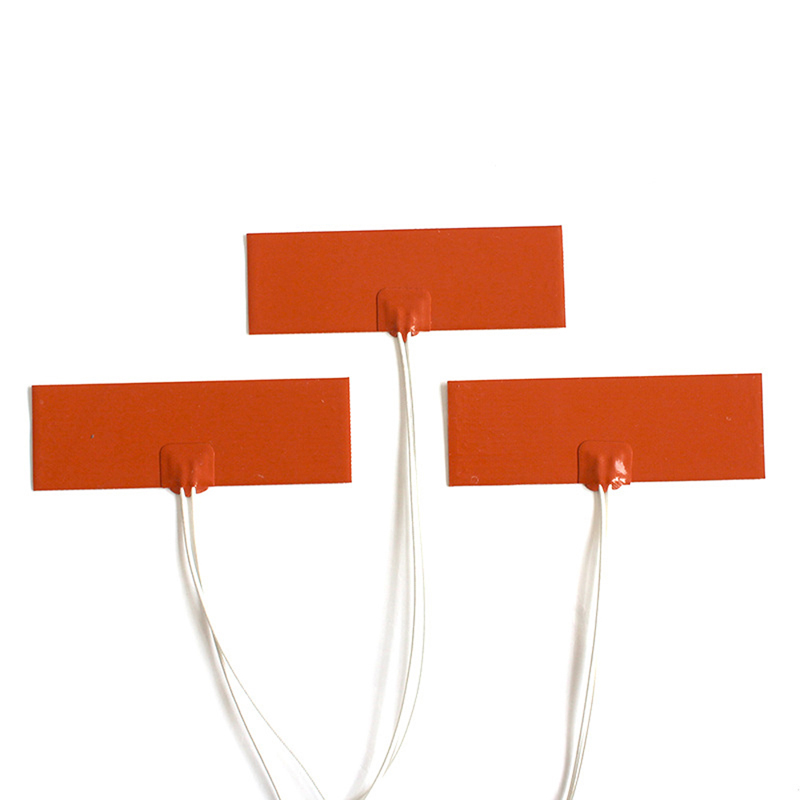 Silicone Rubber Heaters 12v silicone heating pad
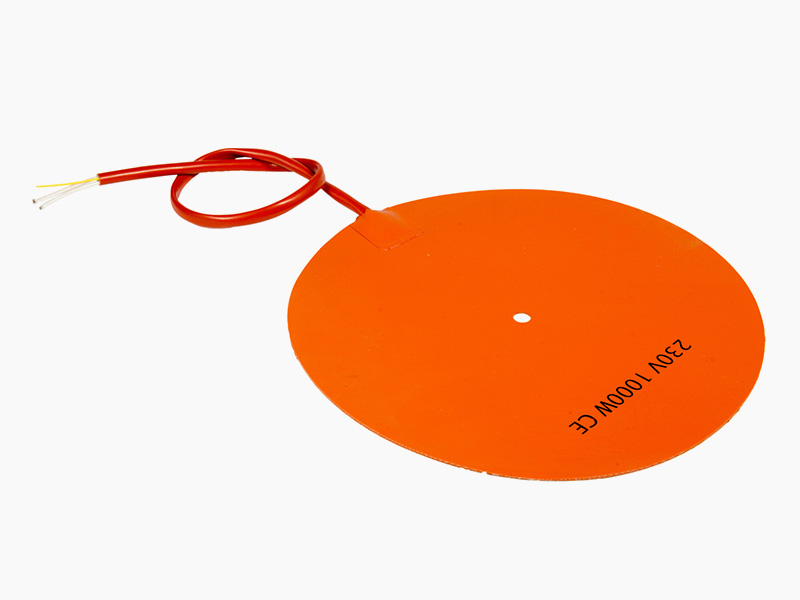 Silicone Rubber Heaters Silicone Rubber Heaters
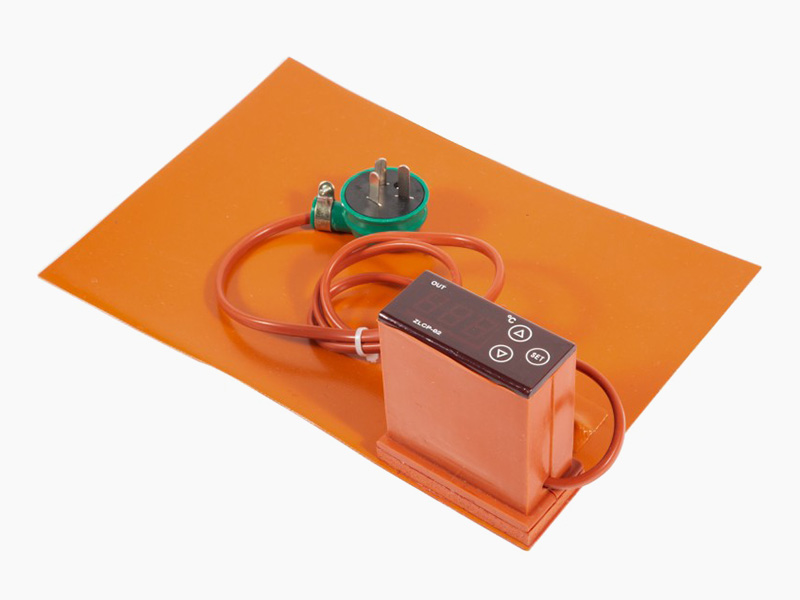 Silicone Rubber Heaters Silicone Rubber Heaters